
Your cart is currently empty!
Detailed Guide on How to Change CV Boot

Changing a CV boot might appear challenging, but it can actually be a very simple task with the right equipment and follow the correct procedures. This instruction manual makes you aware of every step involved in the process and additionally, you learn the significance of taking care of the different parts of your car.
Table of Contents
- Introduction
- Overview of the CV Boot Kit
- Identifying the Old CV Boot Damage
- Methods for Removing the Old Boot
- Inspecting Components for Damage
- Cleaning Out Old Grease
- Installing the New Boot
- Securing the CV Boot Clamp
- Finalizing the CV Boot Installation
- What Tools Are Required?
- Common Mistakes to Avoid
- When to Seek Professional Help
- Understanding the Importance of the CV Boot
- Maintaining Your Vehicle Post-Installation
- FAQ: Common Questions About CV Boot Replacement
Introduction
If you want to stay away from expensive repairs in the future, you definitely need to replace a CV boot, which is a basic maintenance task. A broken boot allows grease to leak and dirt to infiltrate, thus pushing your CV axle to wear out earlier than expected. This manual is the only adequate source that will take you through all steps and let you realize all of them comprehensively.
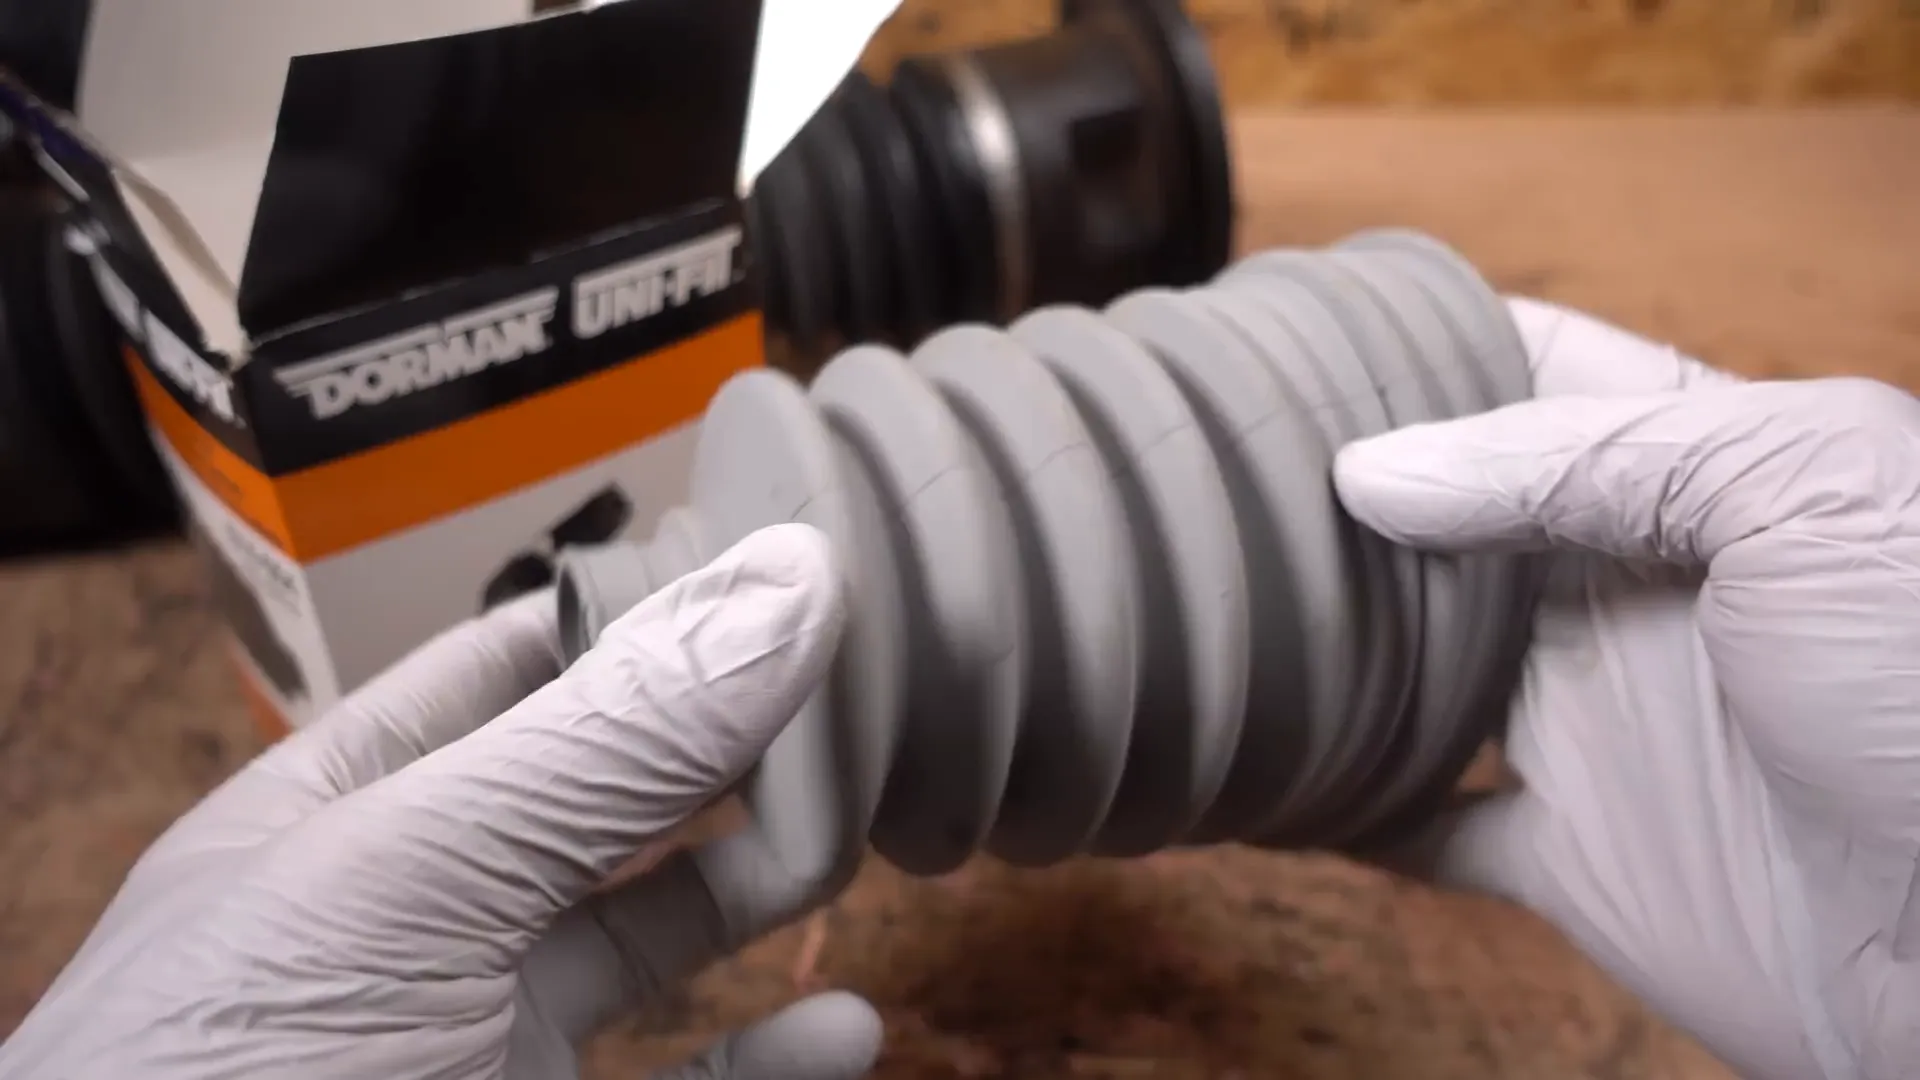
Overview of the CV Boot Kit
Not only the CV joint kit is VE but it is also the most important part for you to replace with an Actros truck. It usually contains a rubber or silicone boot, clamps, and grease. The function of the boot is to protect the CV from dirt and dust while allowing the lubricant to remain inside. When you choose a kit, it is better to choose good materials and make sure that it matches your car.
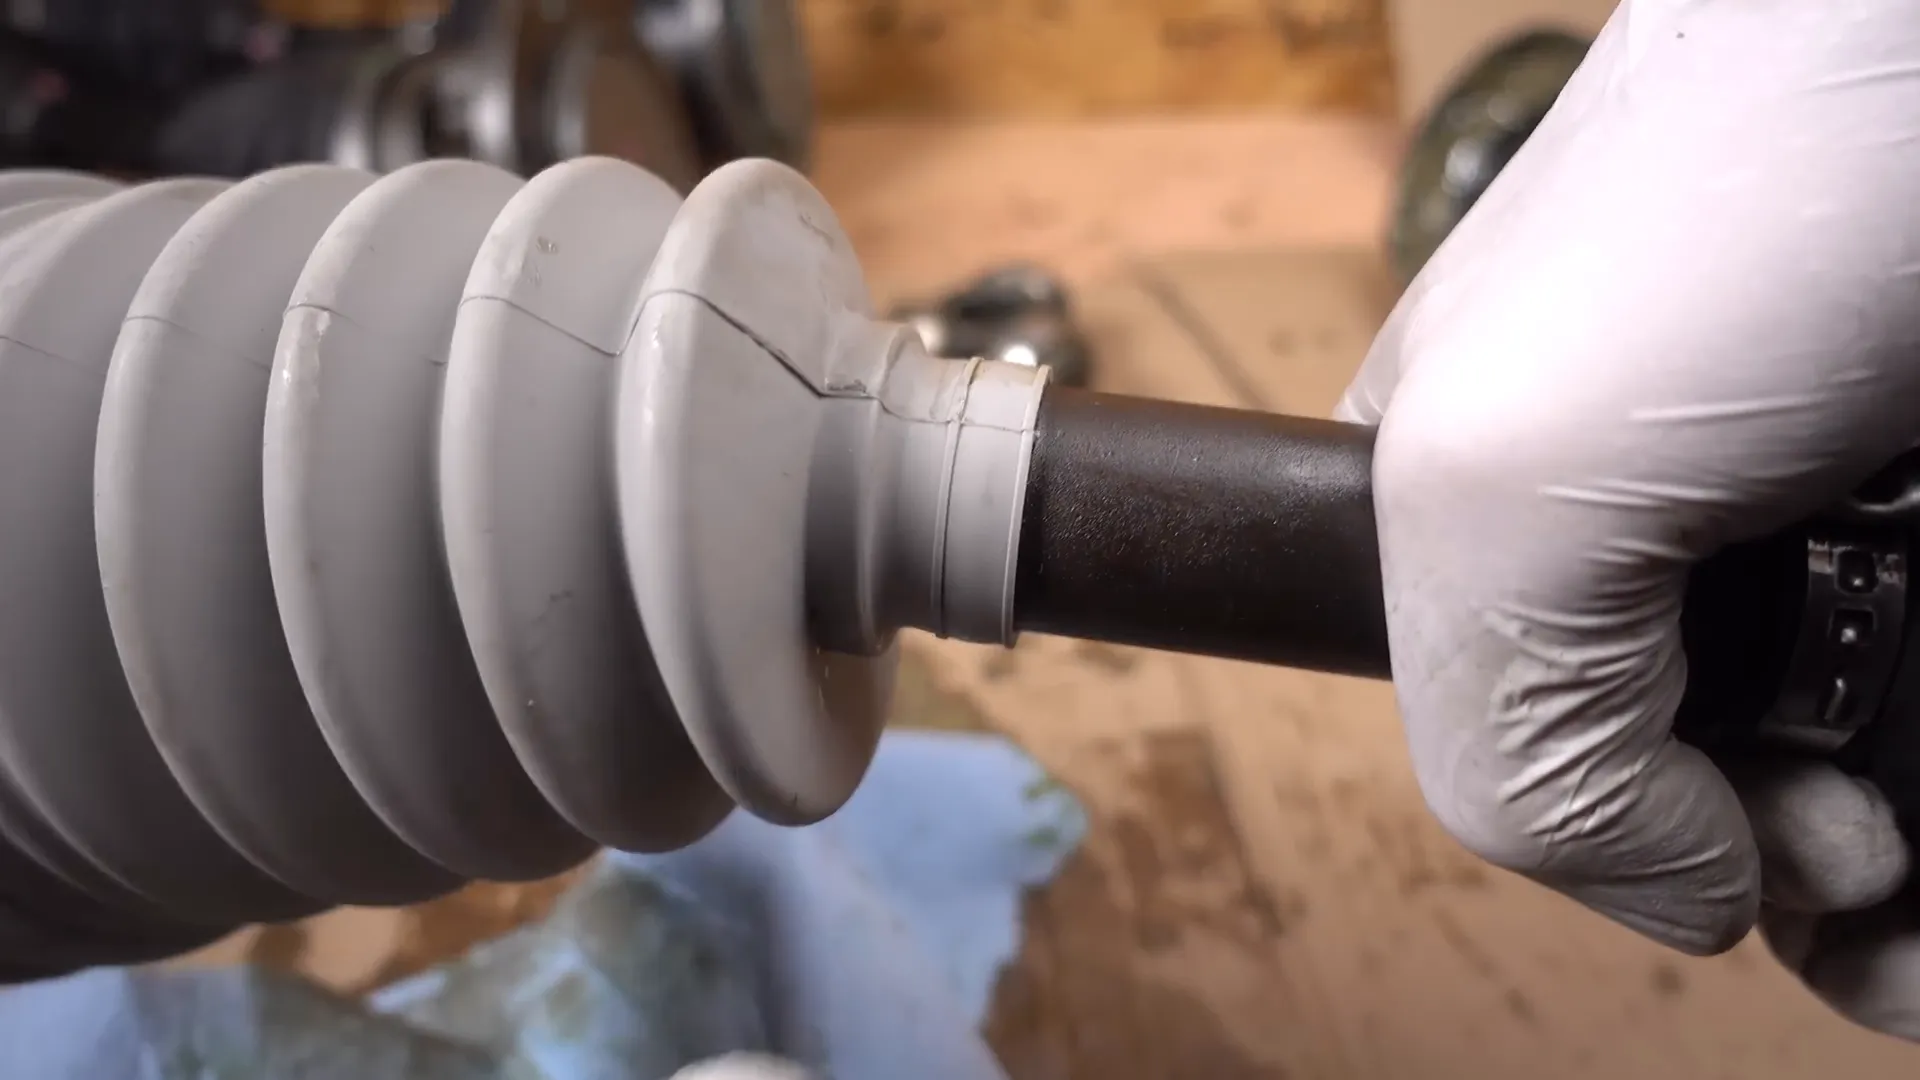
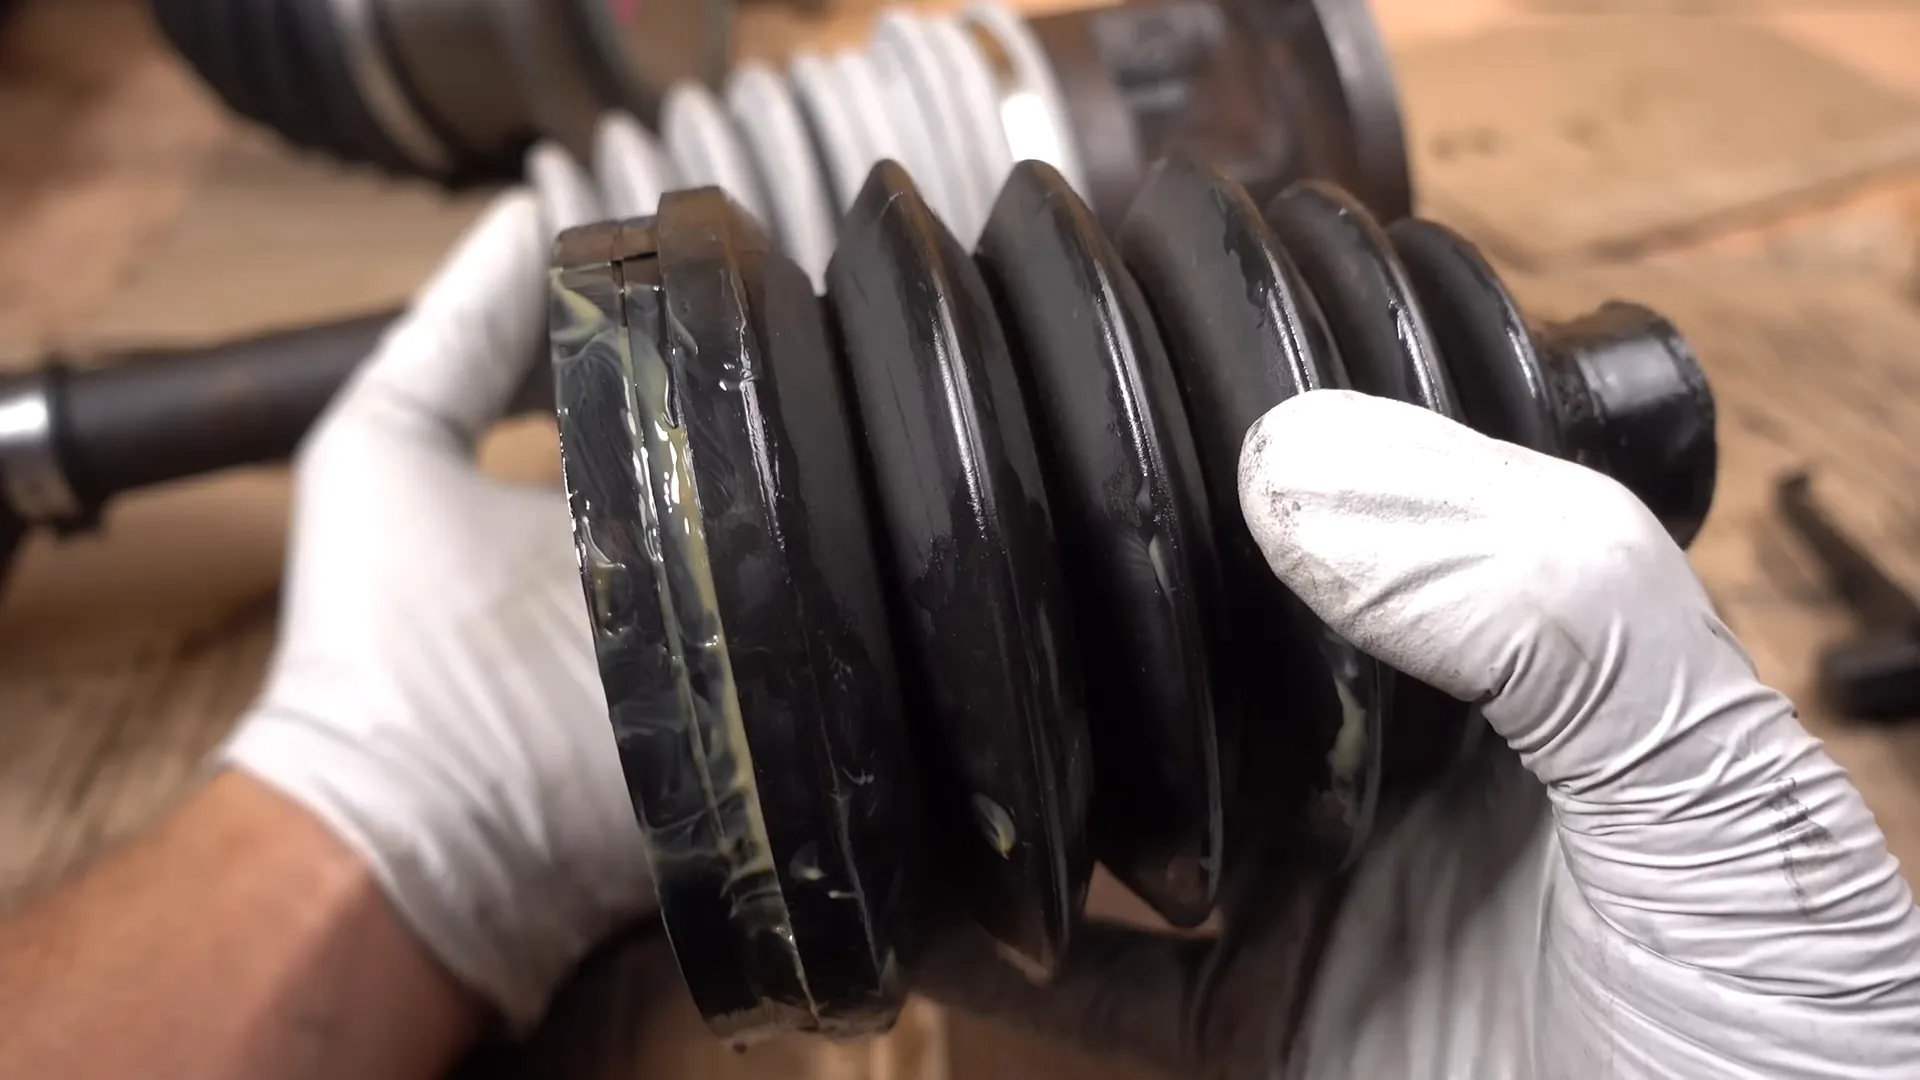
Identifying the Old CV Boot Damage
Prior to starting the replacement, it is important to evaluate the status of the old CV boot. Pay attention to the signs of wear and tear like visible cuts, cracks, or any traces of grease leakage. An unnoticed slight cut can lead to serious troubles by violating the cleanliness with dirt and moisture in the joint.
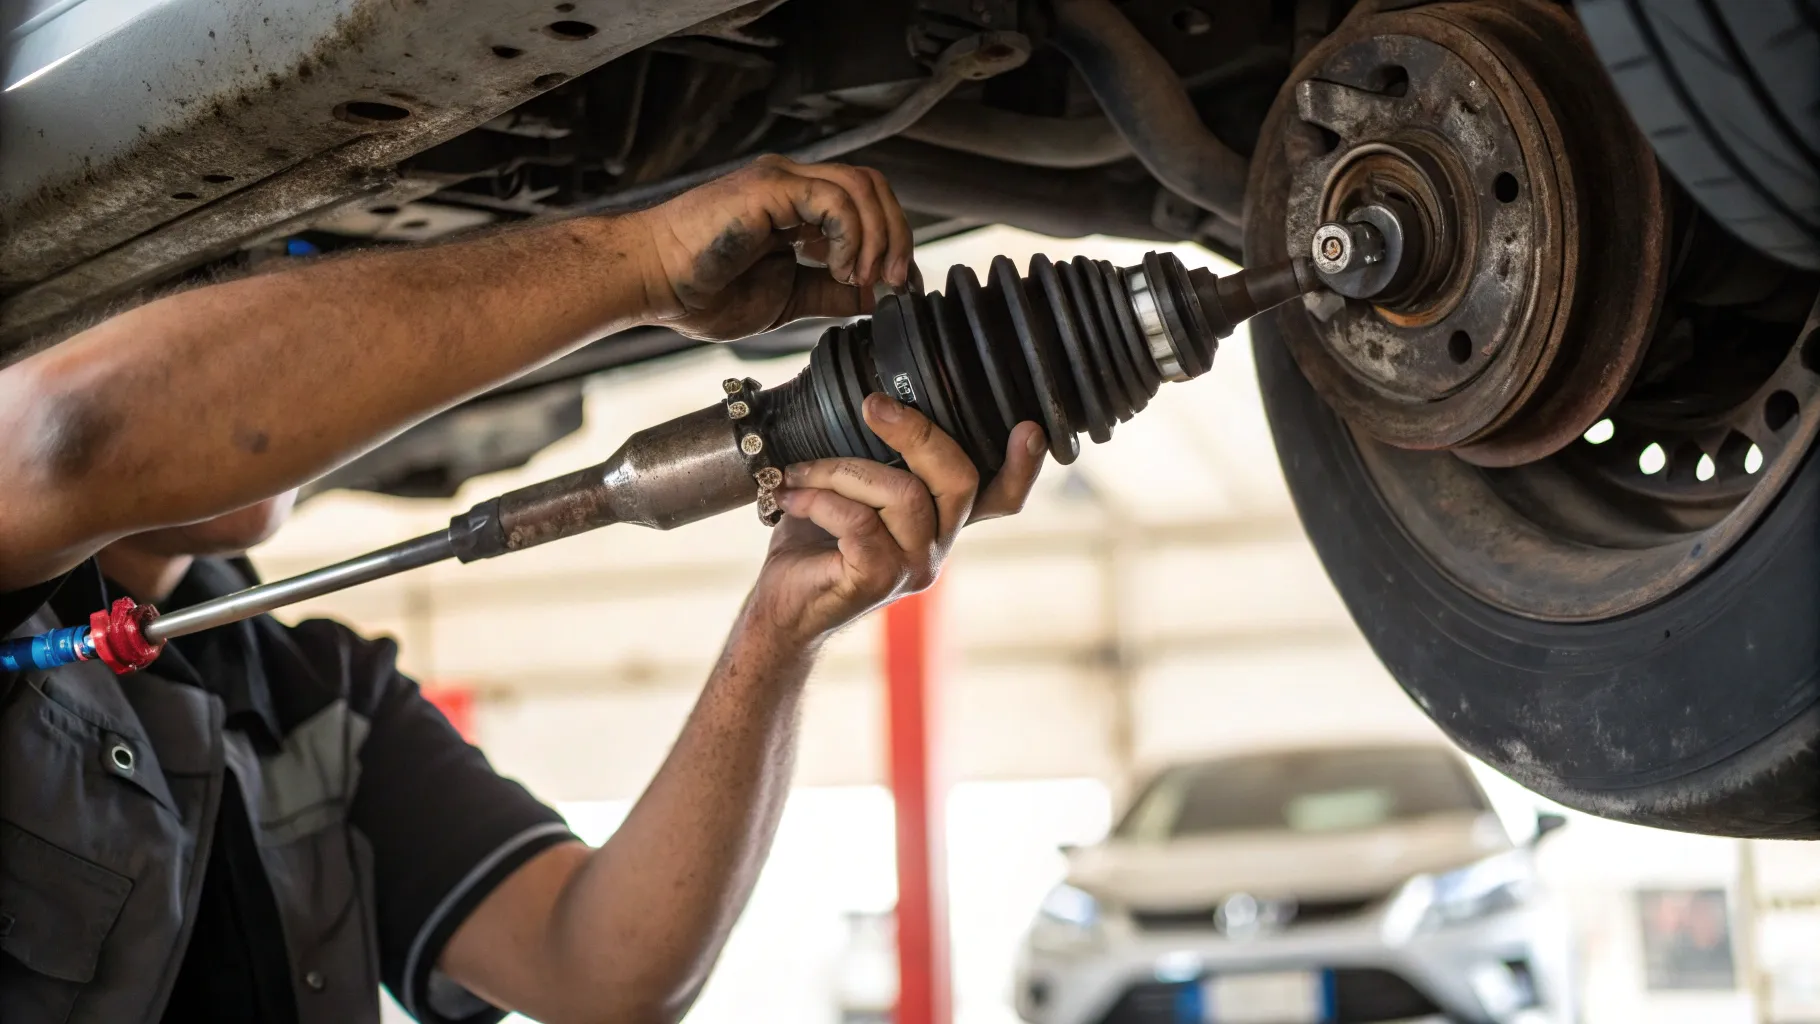
Methods for Removing the Old Boot
First of all, you will have to detach the clamps before removing the old boot. The most common kind is the crimp-type clamp which usually requires special tools for removal. In case the clamp is firmly attached and can’t be opened, then you have to cut it off either using a grinder or tin snips.
Take care to avoid damaging the axle while cutting. When the clamps are out of the way, you will be able to slip the boot off the axle. If you find it hard to do so, check if there are any remaining clamps or snap rings to be removed.

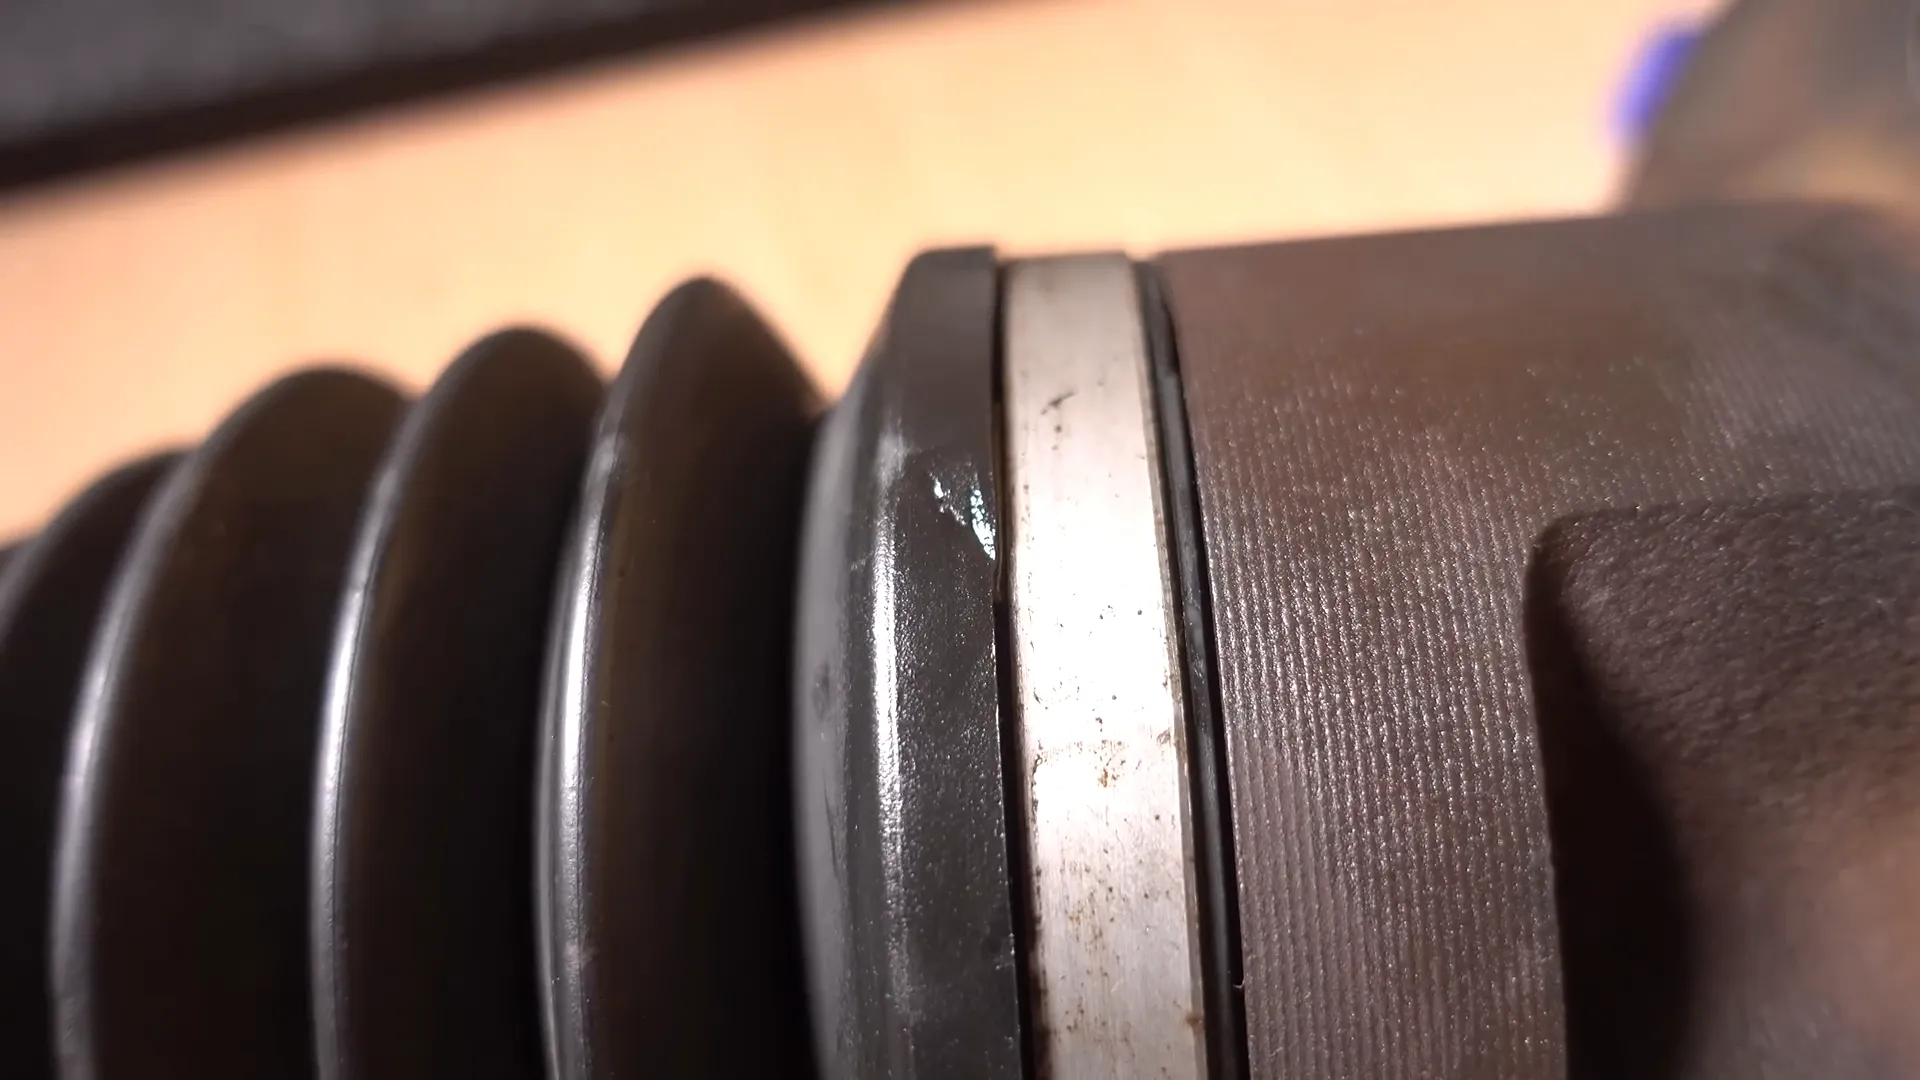
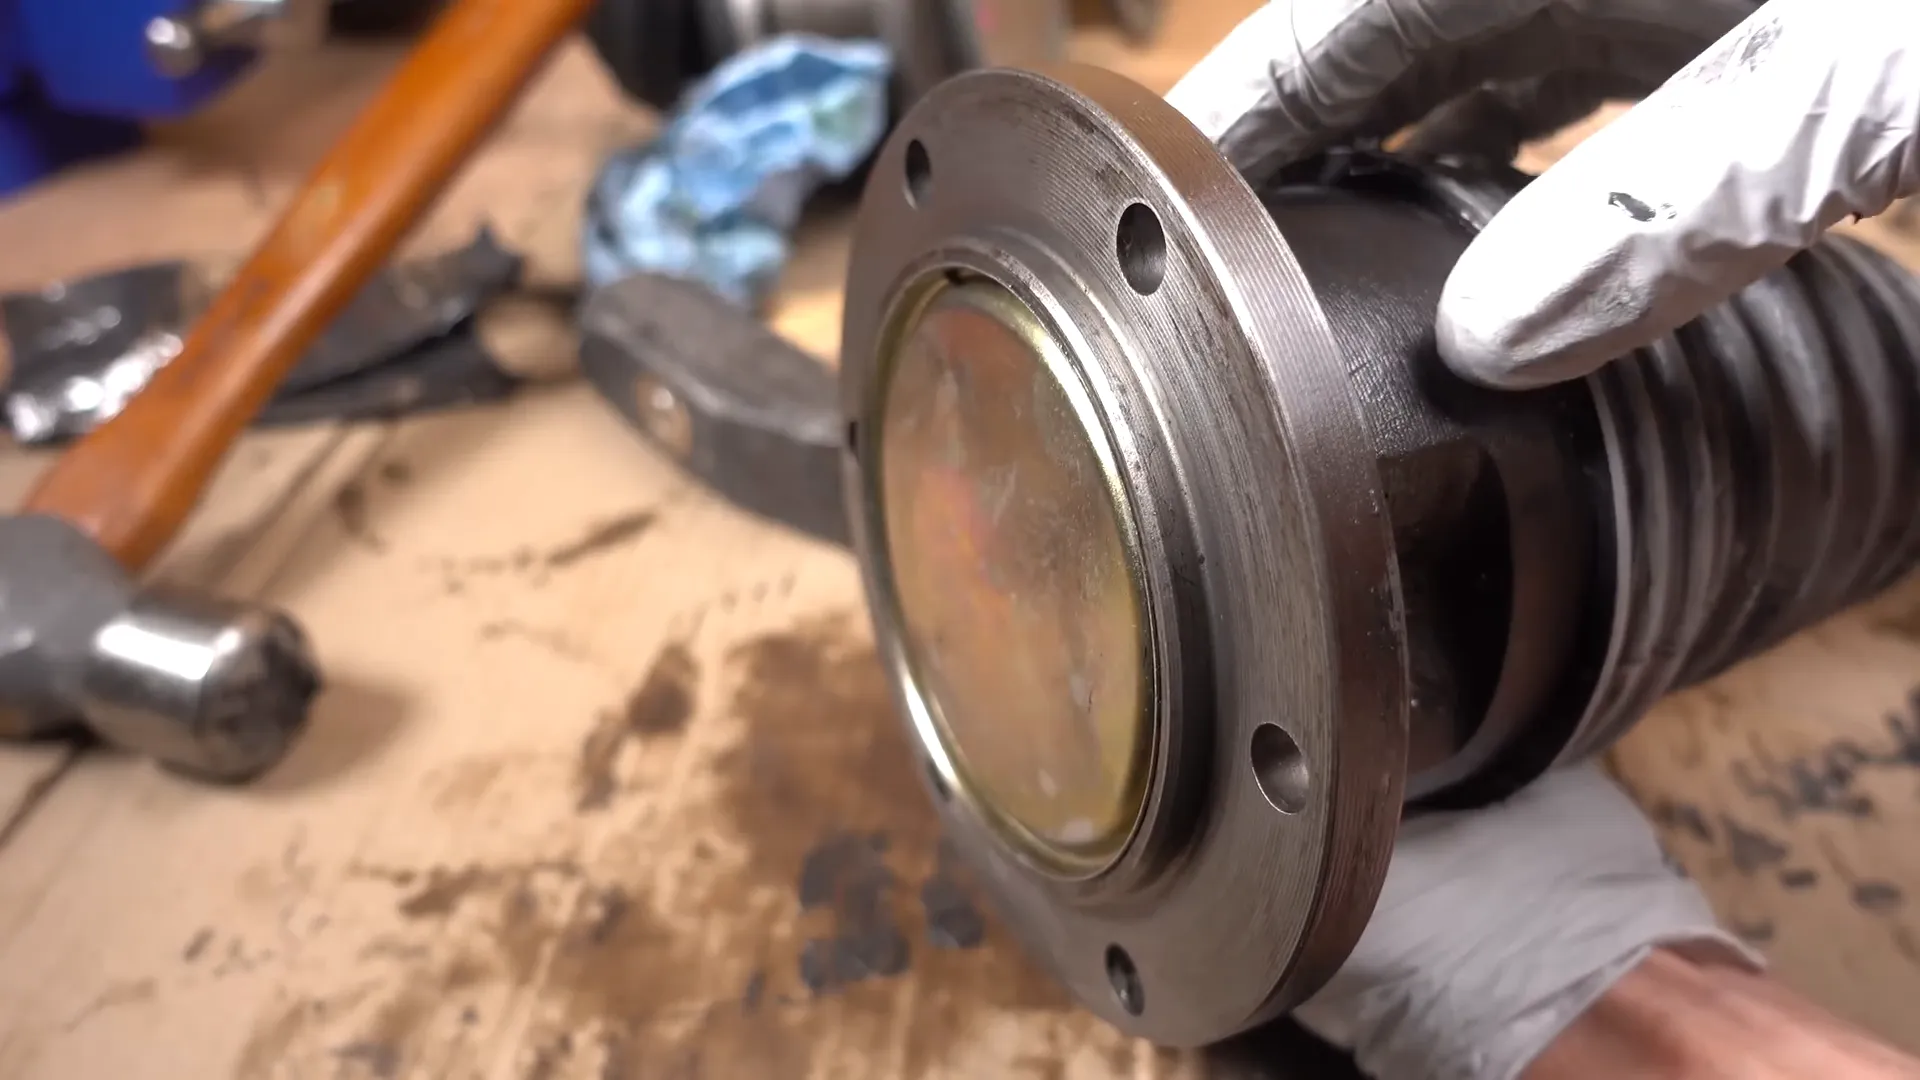
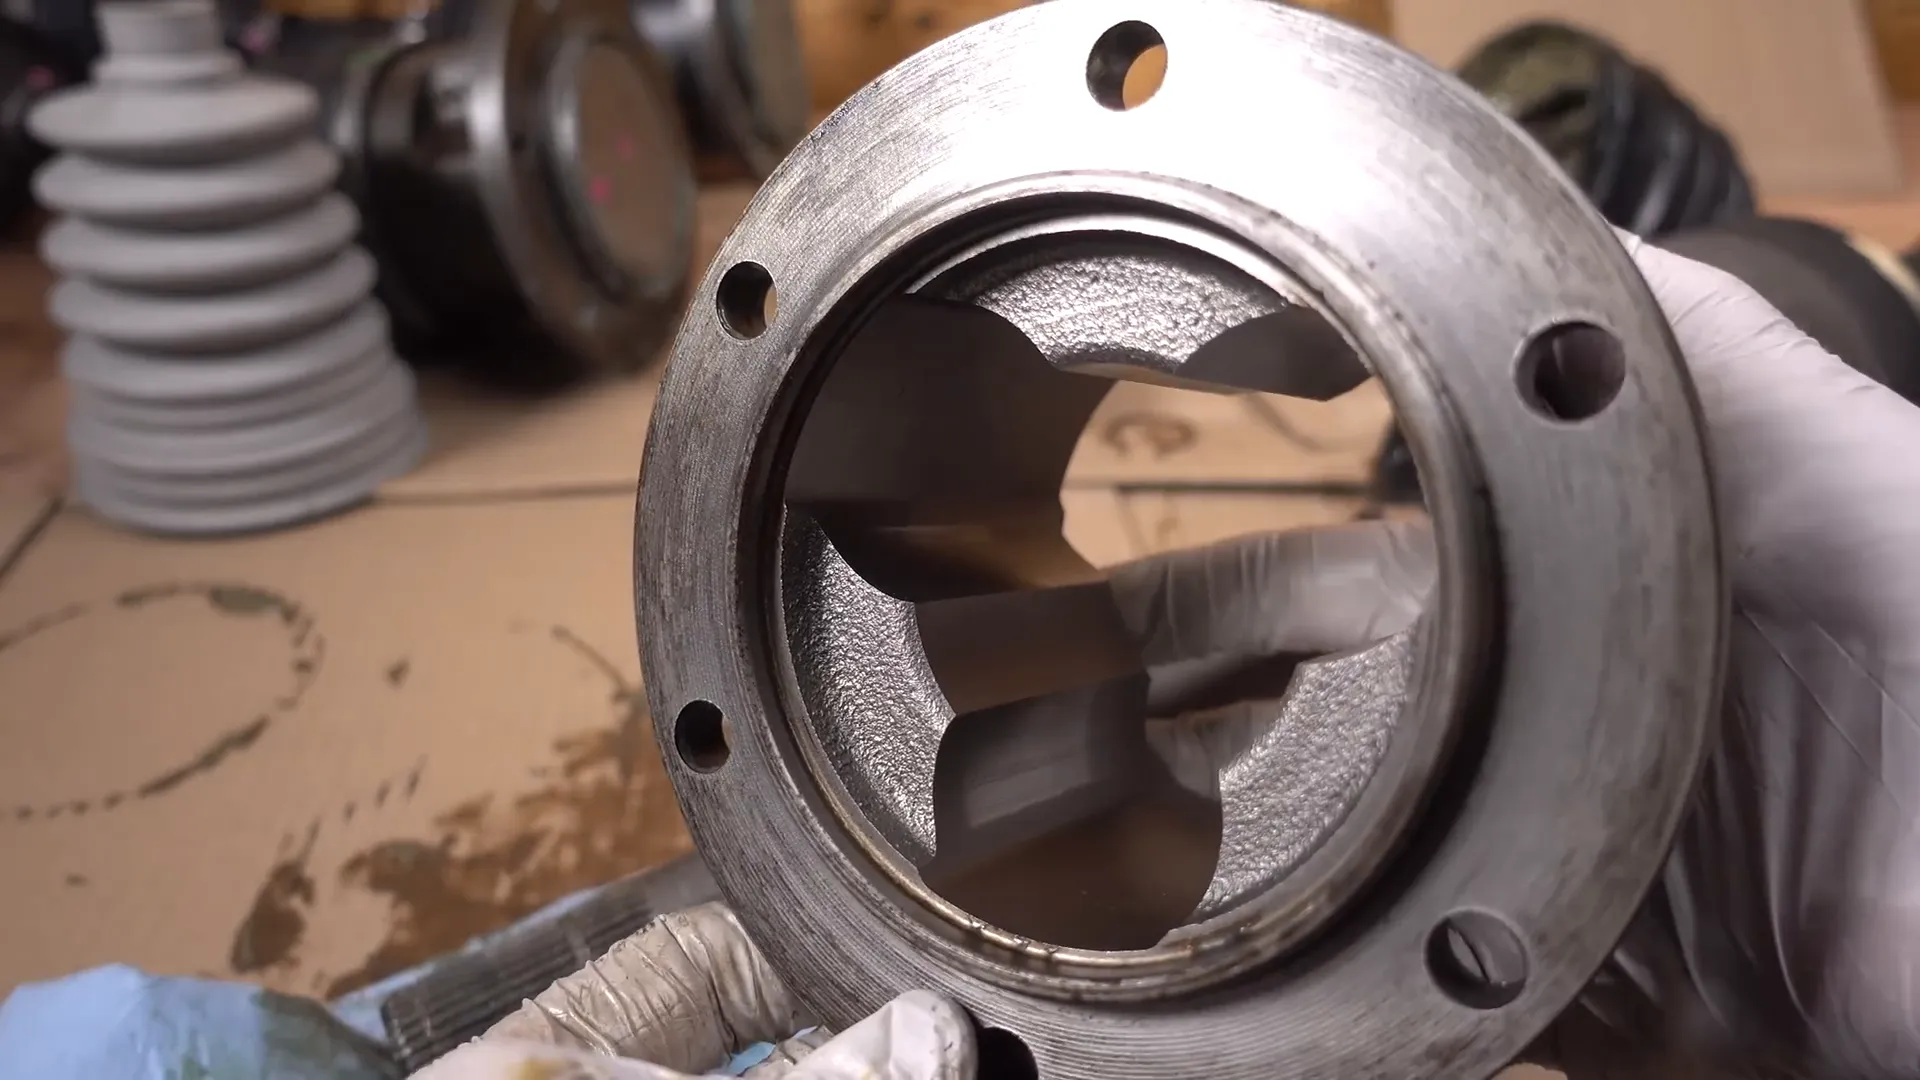
Inspecting Components for Damage
Once you take out the old boot, carefully check the CV joint and the adjacent parts for wear and tear and any other damage that might have occurred. Scan through the axle shaft for signs of scoring and also check the bearings if they are in good condition. The bearings might require replacement if they feel rough or if there is any damage visible.

Cleaning Out Old Grease
Cleaning the CV joint is an important step in the process of putting in a new boot. The first step is to use shop towels to wipe out all the old grease and make sure that there are no foreign particles left on the surface. Compressed air can also be a good tool for blowing out the grease that may be stuck in the little corners. Next part after the general cleaning comes is the use of a non-residue cleaner to get rid of any final grease thoroughly.
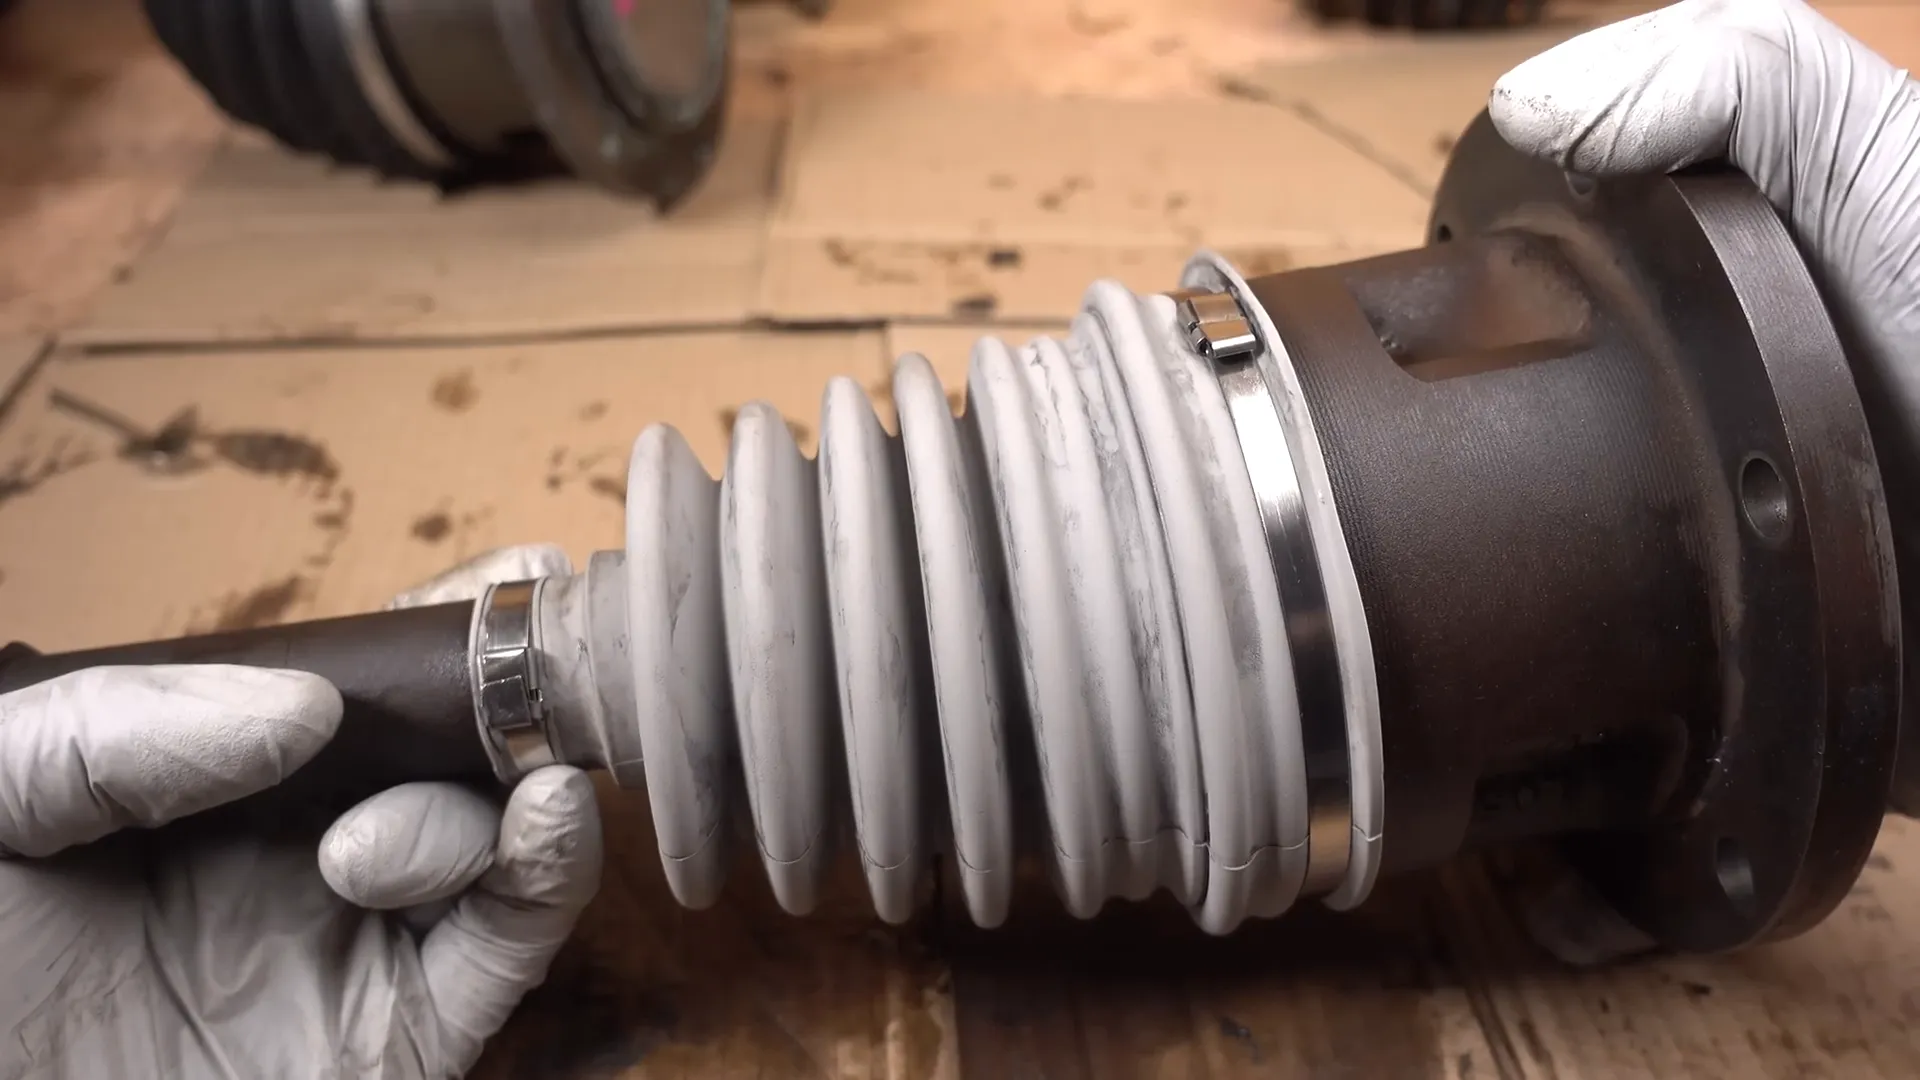
Installing the New Boot
Subsequent to taking out the old boot and clamps, the next step is to put the new boot in place. Begin with the sliding of the boot over the axle shaft, ensuring that it is seated correctly in the specially designed grooves. This stage is essential for the tight fit because it will prevent any possible leakage in the future.
While placing the boot, ensure that it does not have any visible gaps. You need it to be tight against the surface. If you feel that it is loose, you may want to reposition it. Verify the alignment once more to ascertain that it has seated well.
Securing the CV Boot Clamp
Once the boot is installed, the following step is to fix the clamp. There might be slight variations in this step based on the clamp appropriately used. In the case of the band clamp, it should be first, slid over the boot and then tightly closed. Employ the special tool previously referred to in order to guarantee it is be firmly secured.
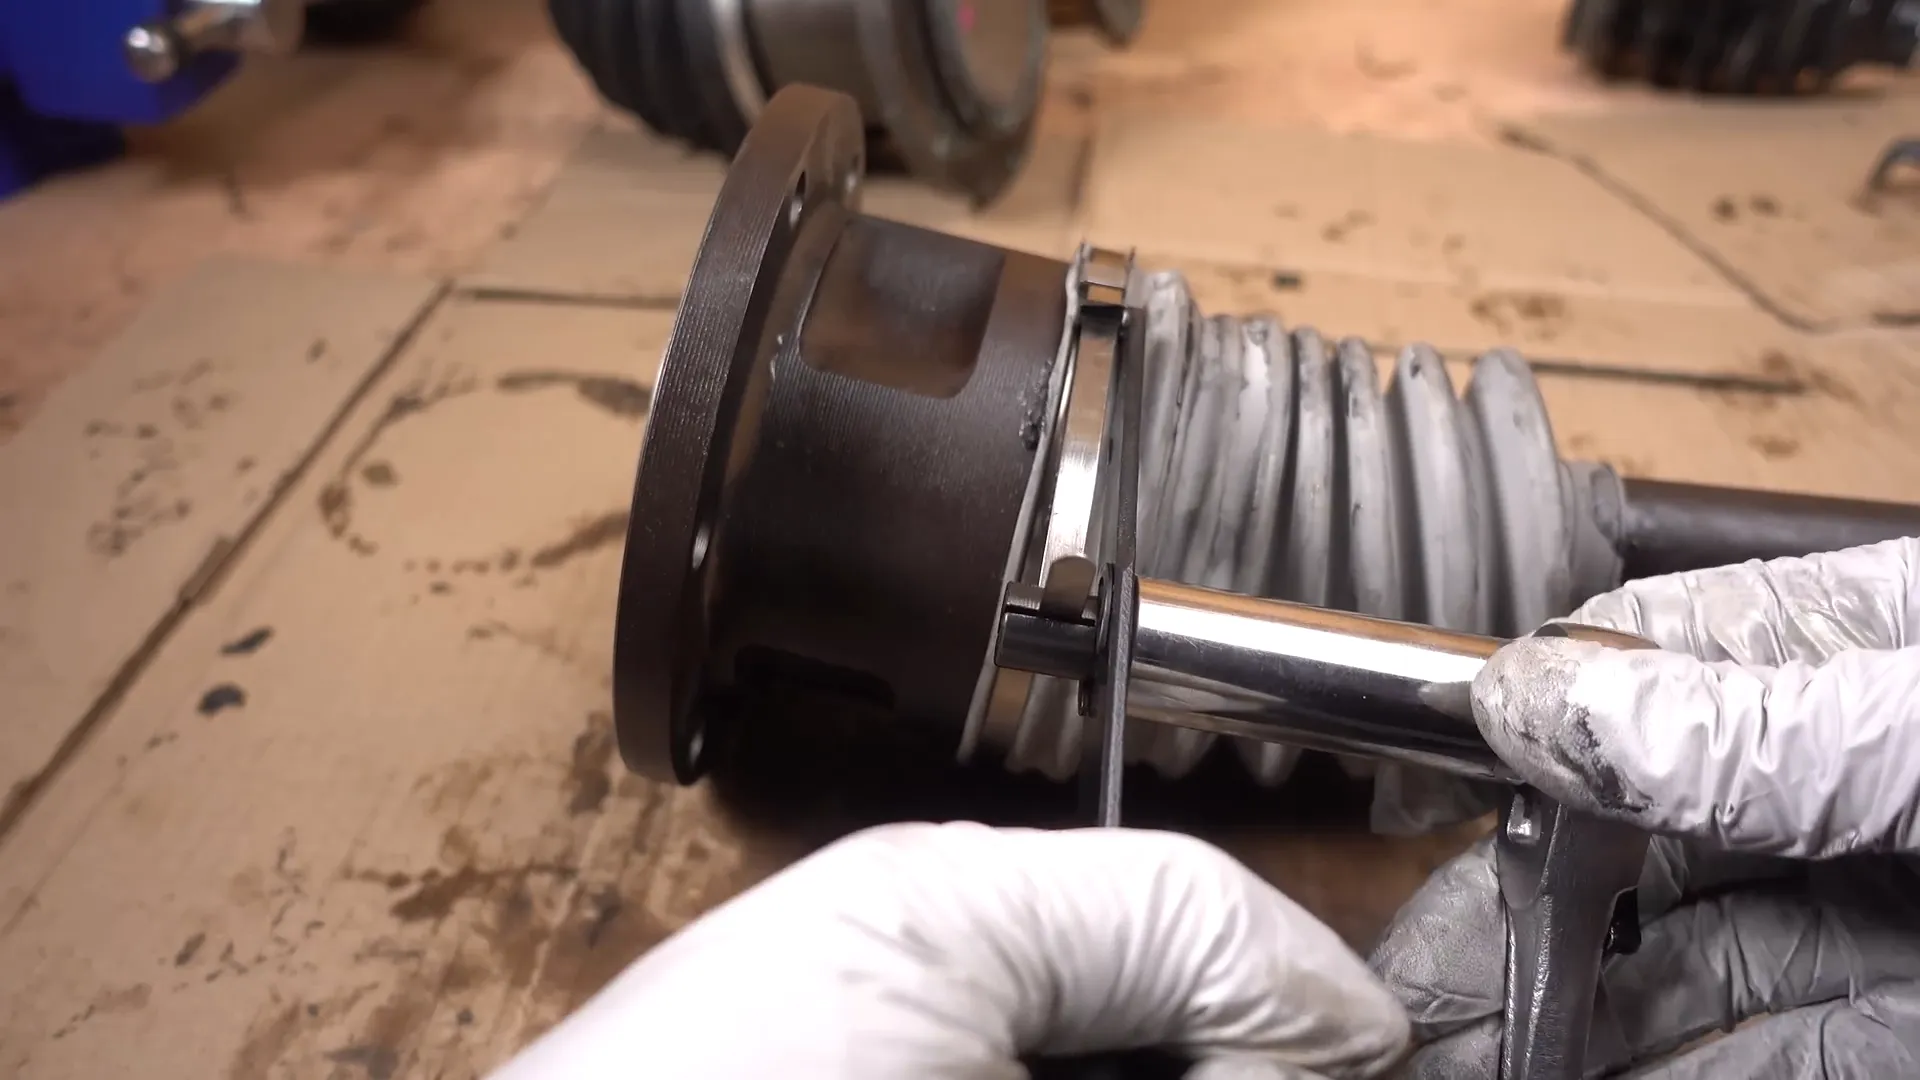
While you are adjusting the clamp, do not forget to watch the boot. It must not stick out too much. You should have a secure grip by not over-squeezing the rubber. Once you sense the resistance, you need to look over and make sure the clamp is fastened uniformly all across.
Finalizing the CV Boot Installation
Following the fastening of the clamp, verify that the boot is fully seated in its groove. This will prevent any movement that could cause wear over time. Now, you can proceed to the end cap. Use a hammer to tap it in softly to ensure that it fits accurately.
After putting the end cap in position, be sure to recheck the boot alignment since it has to be correct and the clamp should be tight. Here, any misalignment can lead to premature failure. Lastly, wiping down any grease or residue left from the installation process is the way to go to keep everything clean.
What Tools Are Required?
The required tools to carry out the process of CV boot replacement effectively are the following:
- Socket Set: For removing bolts and nuts.
- Tin Snips or Grinder: For cutting off old clamps if necessary.
- Specialized Clamp Tool: Needed for securing the new clamps.
- Snap Ring Pliers: Useful for handling snap rings during disassembly.
- Shop Towels: For cleaning and wiping down components.
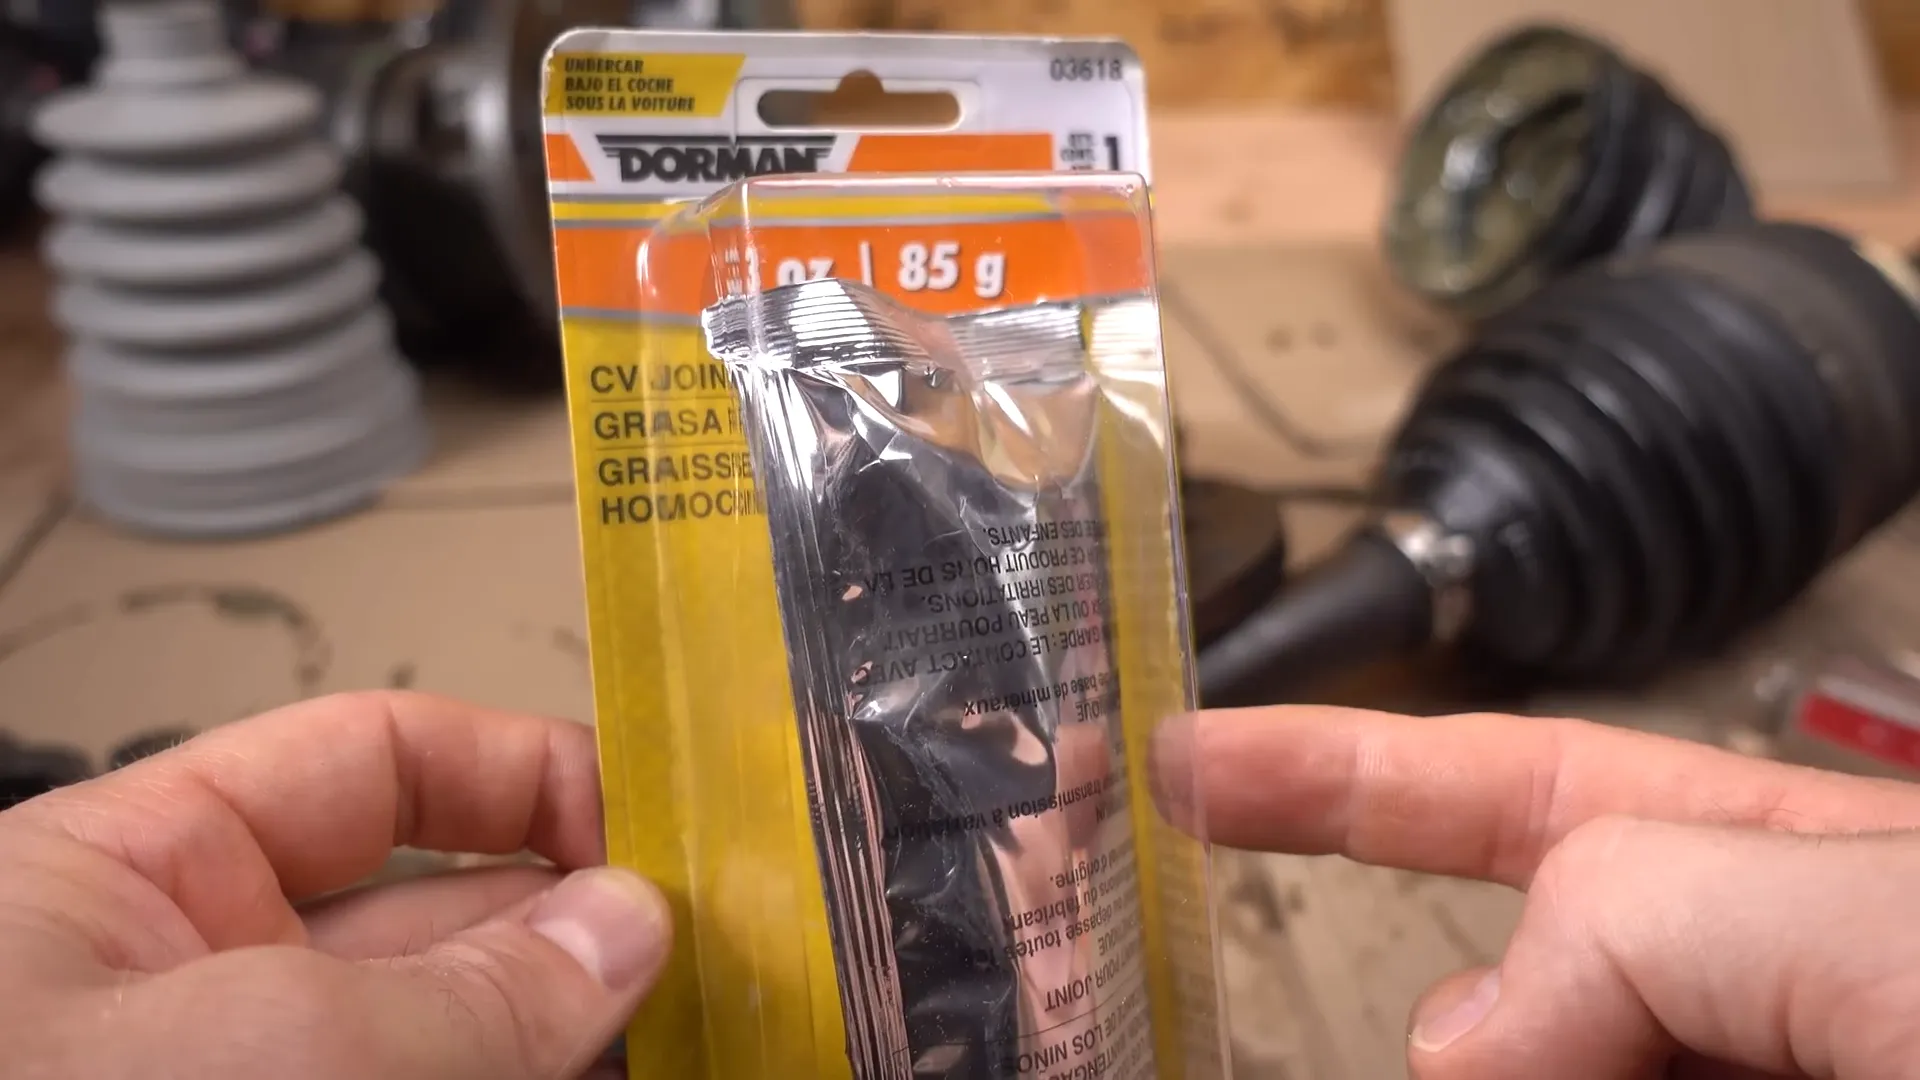
- Grease Gun: To apply grease properly during installation.
Common Mistakes to Avoid
Although the process of CV boot replacement may seem simple, there are certain common obstacles to overcome:
- Not Cleaning Thoroughly: Failing to clean out old grease can lead to contamination.
- Incorrect Boot Alignment: Ensure the boot sits properly in its groove to avoid leaks.
- Over-tightening the Clamp: This can damage the boot, leading to premature failure.
- Skipping the Grease Application: Always grease the bearings and inside the boot for optimal performance.
- Not Using the Right Tools: Using makeshift tools can lead to improper installation.
When to Seek Professional Help
Even though changing a CV boot can be a do-it-yourself project, there are situations when taking the help of a professional is wise. If you come across irreparable damage to the CV joint like deep grooves or too much wear, it is advisable to go to a mechanic’s workshop. Likewise, if you do not have the required tools or the know-how, a professional will surely make it perfect.
Furthermore, in case you have any abnormal sounds or vibrations after installing, it is recommended to ask for help. These manifestations may imply unfair installation or other issues, which are required to be taken care of.

Understanding the Importance of the CV Boot
The boot CV is an essential part of your vehicle’s CV joint longevity. It serves as a barrier that holds the grease, while it also prevents dirt and moisture from getting inside. The damaged one is the source of the grease that the joint is leaking, leading to the final step of the process that is the joint losing (failing) its lubrication(& clay) if not treated in time.
The complete and proper boot installation briefly creates a competent seal for the joint which lets it turn smoothly. Thus the car drives under the best conditions and ensures the best possible behavior in turns and during acceleration. The routine examination of the CV boot can be beneficial in the sense that it allows recognizing any wear or damage before this leads to larger problems.
Maintaining Your Vehicle Post-Installation
Upon putting a new CV boot install, it is very essential to carry out routine maintenance as well. Regularly scanning the boot for possible wear such as cracks or tears signs is a good habit to develop. Another important thing is to check the clamps to make sure they are still tight. A loose clamp could mean that grease will be missing, which can be a significant issue for the joint.
Likewise, it is essential to keep the environment tidy for your constant velocity joint. Driving through deep water or mud is something you need to avoid as these conditions can accelerate the wearing and tearing of the boot. In the event that you face these situations, you could think of cleaning the area surrounding the boot after your drive in order to remove any debris.
FAQ: Common Questions About CV Boot Replacement
1. How often should I replace my CV boot?
Basically, CV boots should be inspected systematically for any damage and if any is found, they should be replaced. If you happen to witness the presence of cracks, tears, or grease leakage, you need to have a new CV boot set.
2. Can I drive with a damaged CV boot?
It is not recommended to drive a car with a damaged CV boot. Even if the car continues to function, the exposed CV joint is likely to be affected by dirt and thus experience faster wear, which will lead to expensive repairs.
3. What are the signs that my CV boot needs replacement?
The typical indicators are the ruptured or holes in the boot, ground grease stains, or weird sounds during the turning function. If you see any of these signs, it is very important to check out the boot and joint condition.
4. Is it necessary to replace both CV boots at the same time?
Although it is not obligatory, taking off both shoes can be a good idea. If the pair that you have is one boot damaged, the other might also be in ruin, mainly if the two are of the same age and wear.
5. How much does it cost to replace a CV boot?
The cost may differ due to the type and model of your car, and also of the average labor cost in your region. For CV boot replacement, it is reasonable to think that the average payment will be between $100 and $300.
Leave a Reply